

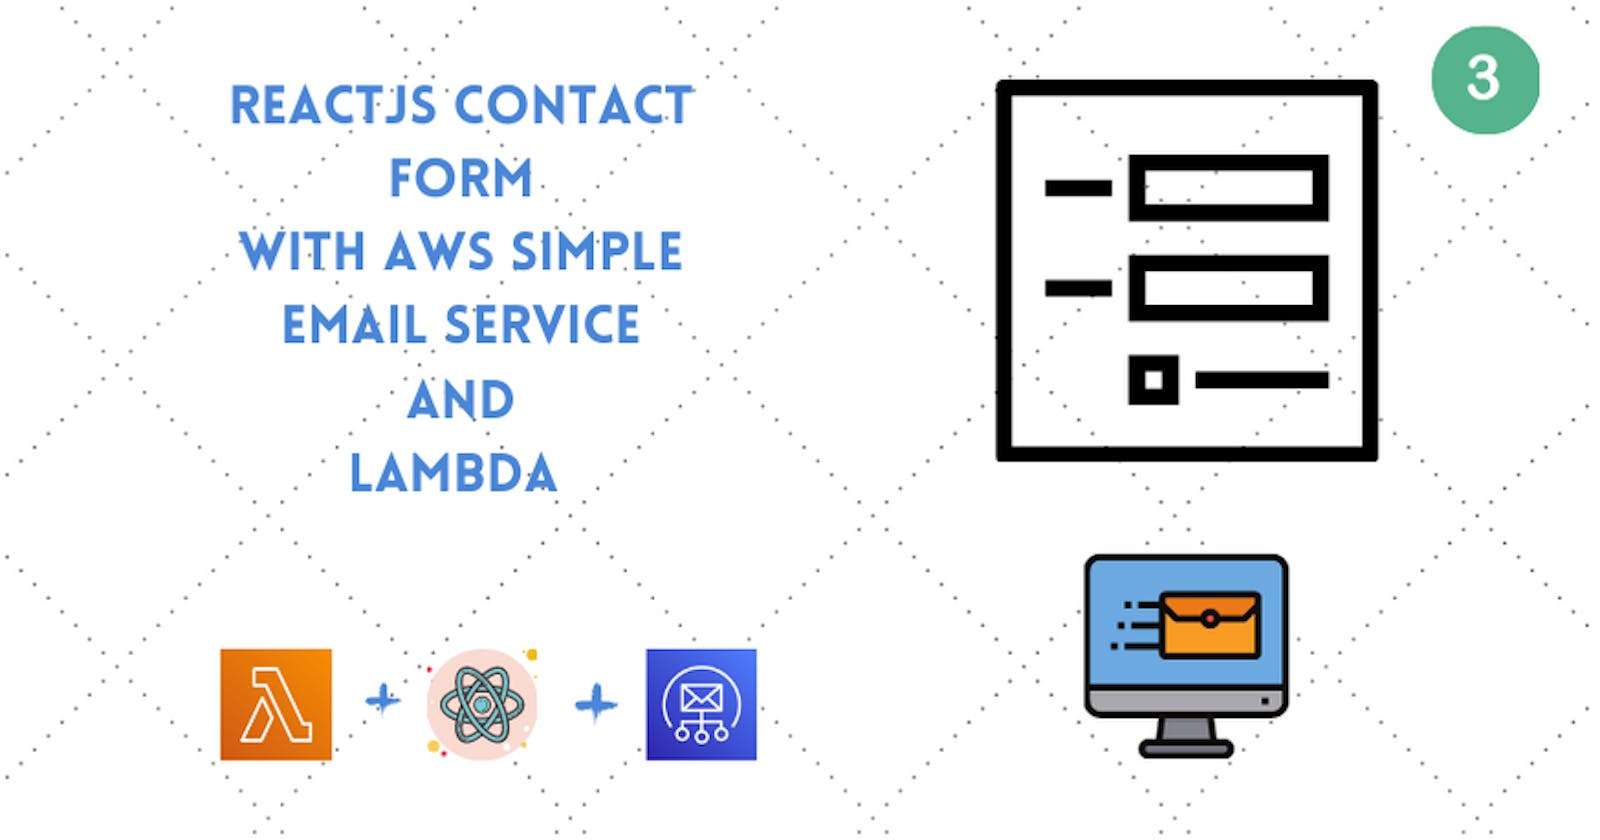


We have finally reached the last part of our full-stack app and the remaining part will be focused on react.js.
But before that, if you missed the second part here is the link.
Step 1:
Before jumping to terminal as I said in the last tutorial that to send email with another email ID there are some extra steps to follow in the AWS Management Console > SES.
We have to select Sending Statistics just below Email Sending menu in the left panel of the SES Home.
Our aim here is to get out of the sandbox so that we could use different email ID and send more than 200 emails in 24-hours. Below are some docs to better understand AWS SES Sandbox mode and how to get out of it :


The procedure to get out of sandbox is to select the Edit your account details and then fill in the details like our website url, our use case etc., as you can see above my request has been approved and so can your request be approved too just that one has to fill the details honestly and expect to receive a response from AWS in some time.
Step 2:
We finally move to react.js section now.
cd ..
npx create-react-app reactApp
We will move to a new directory and run the create-react-app command to easily get started with react.
We now have to clean-up our boilerplate code resulting in our two main files App.js and Index.js as :
App.js
import React from 'react';
import './App.css';

function App() {


return (
  <div>
    This is my react app!
  </div>
    );
}

export default App;
Index.js
import React from 'react';
import ReactDOM from 'react-dom';
import './index.css';
import App from './App';

ReactDOM.render(
  <React.StrictMode>
    <App />
  </React.StrictMode>,
  document.getElementById('root')
);
Step 3:
Now coming to building our contact form, we have many options available as to styling and UI frameworks, from Material UI to SASS and many other options but to keep things short and simple we are gonna use plain CSS with simple divs in react jsx for our contact form. But do feel free to implement your own choice!
App.js
    return (
        <div className="container">
            <div className="row">
                <h1> Contact Form</h1>
            </div>
            <div className="row input-container">

                <div className="col-md-6 col-sm-12">
                    <div className="styled-input">
                        <input type="text"  required />
                        <label>Email</label>
                    </div>
                </div>
                <div className="col-md-6 col-sm-12">
                    <div className="styled-input"  style={{ float: 'right' }}>
                        <input type="text" required />
                        <label>Subject</label>
                    </div>
                </div>
                <div className="col-xs-12">
                    <div className="styled-input wide">
                        <textarea required />
                        <label>Text</label>
                    </div>
                </div>
                <div className="col-xs-12">
                    <div className="btn-lrg submit-btn">
                        Send Message
                    </div>
                </div>
            </div>
        </div>
    );
}
App.css
body {
    background-color: #a0a09c;
    padding-top: 85px;
}

h1 {
    font-family: 'Poppins', sans-serif, 'arial';
    font-weight: 600;
    font-size: 72px;
    color: white;
    text-align: center;
}

h4 {
    font-family: 'Roboto', sans-serif, 'arial';
    font-weight: 400;
    font-size: 20px;
    color: #9b9b9b;
    line-height: 1.5;
}


/* ///// inputs /////*/

input:focus~label,
textarea:focus~label,
input:valid~label,
textarea:valid~label {
    font-size: 0.75em;
    color: #999;
    top: -5px;
    -webkit-transition: all 0.225s ease;
    transition: all 0.225s ease;
}

.styled-input {
    float: left;
    width: 293px;
    margin: 1rem 0;
    position: relative;
    border-radius: 4px;
}

@media only screen and (max-width: 768px) {
    .styled-input {
        width: 100%;
    }
}

.styled-input label {
    color: #999;
    padding: 1.3rem 30px 1rem 30px;
    position: absolute;
    top: 10px;
    left: 0;
    -webkit-transition: all 0.25s ease;
    transition: all 0.25s ease;
    pointer-events: none;
}

.styled-input.wide {
    width: 650px;
    max-width: 100%;
}

input,
textarea {
    padding: 30px;
    border: 0;
    width: 100%;
    font-size: 1rem;
    background-color: #2d2d2d;
    color: white;
    border-radius: 4px;
}

input:focus,
textarea:focus {
    outline: 0;
}

input:focus~span,
textarea:focus~span {
    width: 100%;
    -webkit-transition: all 0.075s ease;
    transition: all 0.075s ease;
}

textarea {
    width: 100%;
    min-height: 15em;
}

.input-container {
    width: 650px;
    max-width: 100%;
    margin: 20px auto 25px auto;
}

.submit-btn {
    padding: 7px 35px;
    border-radius: 2%;
    display: inline-block;
    background-color: #0f0f0f;
    color: white;
    font-size: 18px;
    cursor: pointer;
    box-shadow: 0 2px 5px 0 rgba(0, 0, 0, 0.06), 0 2px 10px 0 rgba(0, 0, 0, 0.07);
    -webkit-transition: all 300ms ease;
    transition: all 300ms ease;
}

.submit-btn:hover {
    transform: translateY(1px);
    box-shadow: 0 1px 1px 0 rgba(0, 0, 0, 0.10), 0 1px 1px 0 rgba(0, 0, 0, 0.09);
}

.error-message {
    color: rgb(177, 18, 18);
}

.success-message {
    color: green;
}

@media (max-width: 768px) {
    .submit-btn {
        width: 100%;
        float: none;
        text-align: center;
    }
}

input[type=checkbox]+label {
    color: #ccc;
    font-style: italic;
}

input[type=checkbox]:checked+label {
    color: #f00;
    font-style: normal;
}
We are using plain CSS to style our form and make it presentable! whereas now we will have to use react hooks to actually do something with the values in the form.
Step 4:
App.js
const [ subject, setSubject ] = React.useState('');
const [ email, setEmail ] = React.useState('');
const [ text, setText ] = React.useState('');
const [ error, setError ] = React.useState('');
const [success,setSuccess] = React.useState('');
we are gonna need 5 states in our case ( feel free to change the form according to your needs but remember to amend our lambda function accordingly! ).
<div className="col-md-6 col-sm-12">
    <div className="styled-input">
      <input type="text" value={email} onChange={(e) => setEmail(e.target.value)} required />
      <label>Email</label>
    </div>
</div>
<div className="col-md-6 col-sm-12">
    <div className="styled-input"  style={{ float: 'right' }}>
      <input type="text" value={subject} onChange={(e) => setSubject(e.target.value)} required />
      <label>Subject</label>
   </div>
</div>
<div className="col-xs-12">
    <div className="styled-input wide">
       <textarea value={text} onChange={(e) => setText(e.target.value)} required />
       <label>Text</label>
    </div>
</div>
Thus, now to actually wire our states to our form input we will make changes accordingly with value and onChange function which will be in action on value change of our inputs.
Step 5:
Coming to the part where we need to actually send the values in our state to our AWS back-end, we need to create a helper function which will come in action when the form is submitted.
const senderFunc = () => {
        console.log({
            email,
            subject,
            text,
        });

        if (!email) {
            setError('Missing Email address!');
            return;
        }
        if (!subject) {
            setError('Missing Subject!');
            return;
        }
        if (!text) {
            setError('Missing Text field!');
            return;
        }
        setError('');


    };
The senderFunc will be the one which will be sending our values to our back-end but first we need to write some error-handling. The above will check that if either of values is being omitted and accordingly set the error message. The success and error messages (state) will be used later in our jsx to display the status of our form submission.
Step 6:
In our terminal we have to run the below command to install axios
npm install axios
Axios is a JavaScript library for performing HTTP requests. Thus we will be able to send our data to our API endpoint through this.
We need to import Axios in our App.js now
App.js
import React from 'react';
import './App.css';
import Axios from 'axios';
        Axios.post('**Your-API-Endpoint**',{
            to: email,
            subject,
            text,
            from: '**verified email only if in sandbox mode in AWS SES**'
        }).then(() => {
            setEmail('');
            setSubject('');
            setText('');
            setSuccess('Your email was sent successfully!');
        }).catch(err => {
            console.log('Error in post request by axios',err);
            setSuccess('');
            setError(err.message || 'Unable to send with this email')
        })
Inside of our senderFunc funcion we will add a axios post request with our input and setting up try - catch where the try block will act as a clean-up i.e. set up success message and clearing our state for another use, and in the catch block we will set our error state with the err.message which will tell us the reported problem axios encountered.
Step 7:
Our final App.js will look like :
import React from 'react';
import './App.css';
import Axios from 'axios';

function App() {
    const [ email, setEmail ] = React.useState('');
    const [ subject, setSubject ] = React.useState('');
    const [ text, setText ] = React.useState('');
    const [ error, setError ] = React.useState('');
    const [success,setSuccess] = React.useState('');

    const senderFunc = () => {
        console.log({
            email,
            subject,
            text,
        });

        if (!email) {
            setError('Missing Email address!');
            return;
        }
        if (!subject) {
            setError('Missing Subject!');
            return;
        }
        if (!text) {
            setError('Missing Text field!');
            return;
        }
        setError('');

        Axios.post('**Your-API-Endpoint**',{
            to: email,
            subject,
            text,
            from: '**verified email only if in sandbox mode in AWS SES**'
        }).then(() => {
            setEmail('');
            setSubject('');
            setText('');
            setSuccess('Your email was sent successfully!');
        }).catch(err => {
            console.log('Error in post request by axios',err);
            setSuccess('');
            setError(err.message || 'Unable to send with this email')
        })

    };

    return (
        <div className="container">
            <div className="row">
                <h1> Contact Form</h1>
            </div>
            <div className="row input-container">

                <div className="col-md-6 col-sm-12">
                    <div className="styled-input">
                        <input type="text" value={email} onChange={(e) => setEmail(e.target.value)} required />
                        <label>Email</label>
                    </div>
                </div>
                <div className="col-md-6 col-sm-12">
                    <div className="styled-input"  style={{ float: 'right' }}>
                        <input type="text" value={subject} onChange={(e) => setSubject(e.target.value)} required />
                        <label>Subject</label>
                    </div>
                </div>
                <div className="col-xs-12">
                    <div className="styled-input wide">
                        <textarea value={text} onChange={(e) => setText(e.target.value)} required />
                        <label>Text</label>
                        {error ? <p className="error-message ">{error}</p> : null}
                        {success ? <p className="success-message ">{success}</p> : null}
                    </div>
                </div>
                <div className="col-xs-12">
                    <div className="btn-lrg submit-btn" onClick={senderFunc}>
                        Send Message
                    </div>
                </div>
            </div>
        </div>
    );
}

export default App;
We will display error or success message based on the conditional checks and axios response.
{error ? <p className="error-message ">{error}</p> : null}
{success ? <p className="success-message ">{success}</p> : null}
This will help us understand if our response has been sent successfully and if not what was the response.
Step 8:
Now finally it's time to run our react app!
npm start
The above command will run our react app.

Our app should like finally look something like above and hopefully after entering the appropiate values in the form input you too got the below message! If not, no problem just try to repeat the steps and this time lokk carefully for mistakes and the error message would probably help you to understand what's the error about and you can look it up!

That's it! You have successfully created, deployed and run a full-stack react.js app with AWS Serverless running as a back-end service.
I gotta say that this was just a start, you can implement this project according to your own use case be it a newsletter, registration form, contact form, etc.
I hope you found this tutorial helpful and feel free to leave any suggestions, questions below!
Project code on github
Feel free to clone or fork this repo and do leave a star!